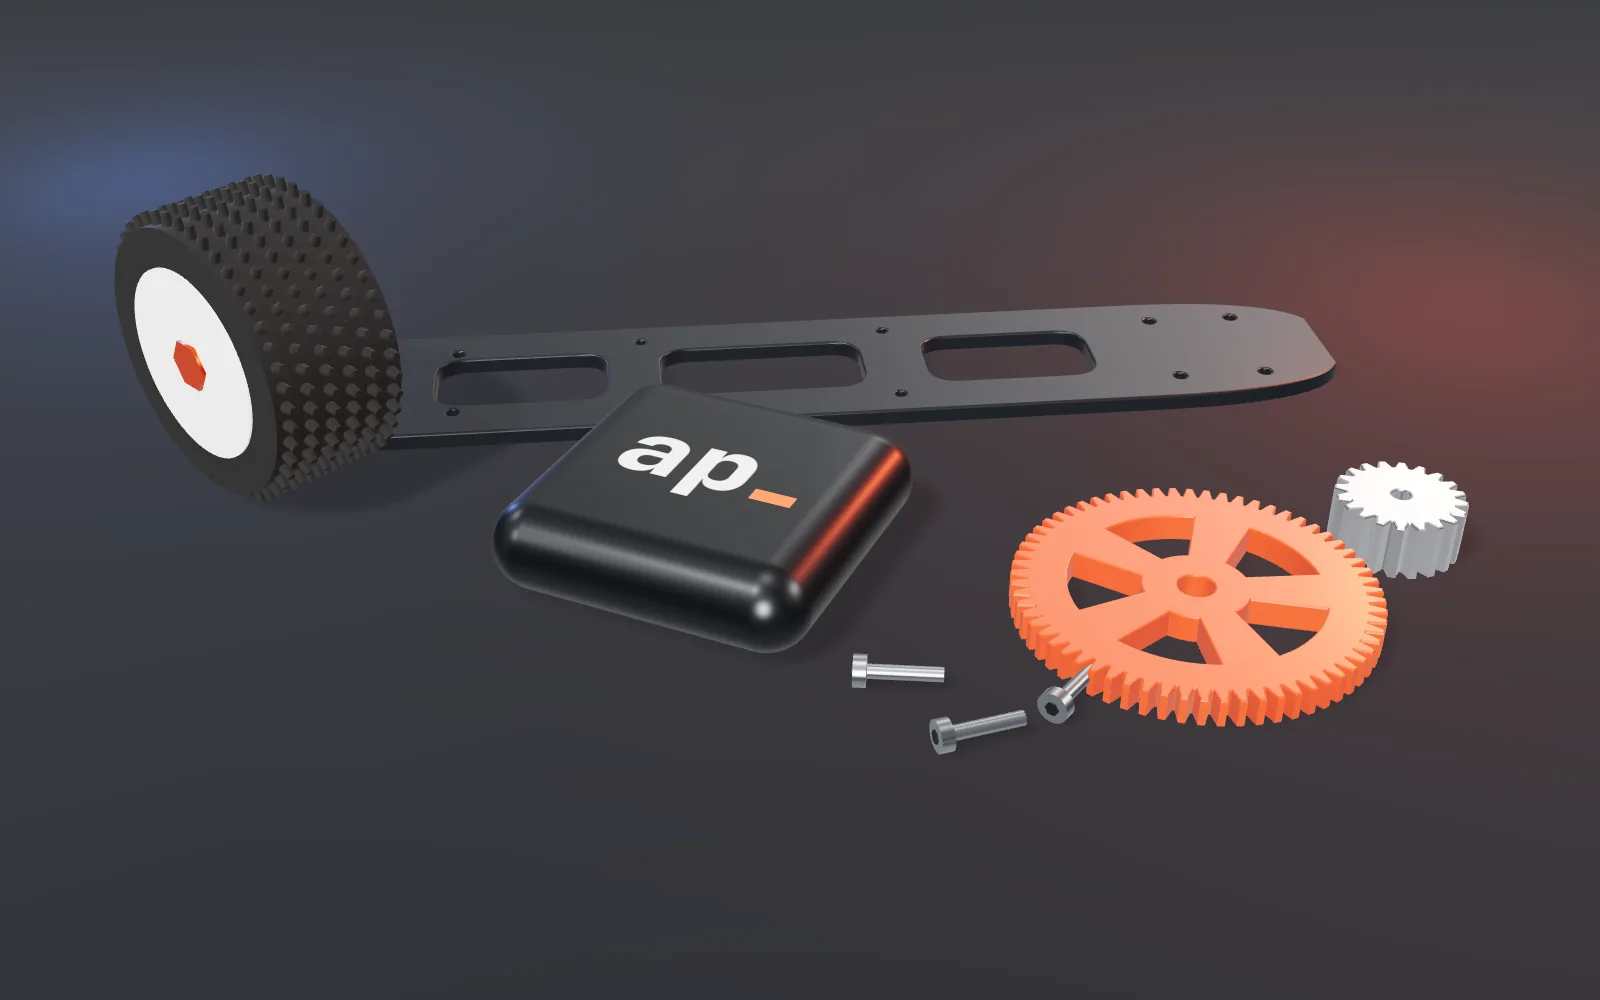
Every 3D image on this site was made in code: the chassis plates, the gears, the tyres, the PC and the logo tile. There's no 3D modelling package involved. Each one is a small three.js scene, rendered in a headless browser and saved as an image.
Parts from profiles
Most mechanical parts are a flat outline with holes in them, given some thickness. In three.js that's a Shape with holes, passed to ExtrudeGeometry with a small bevel so the edges catch the light.
The chassis plate is a rounded outline with three lightening pockets and a row of screw holes. The bracket in the CAD render is built the same way, with a separate base block and four cap screws.
Gears from a loop
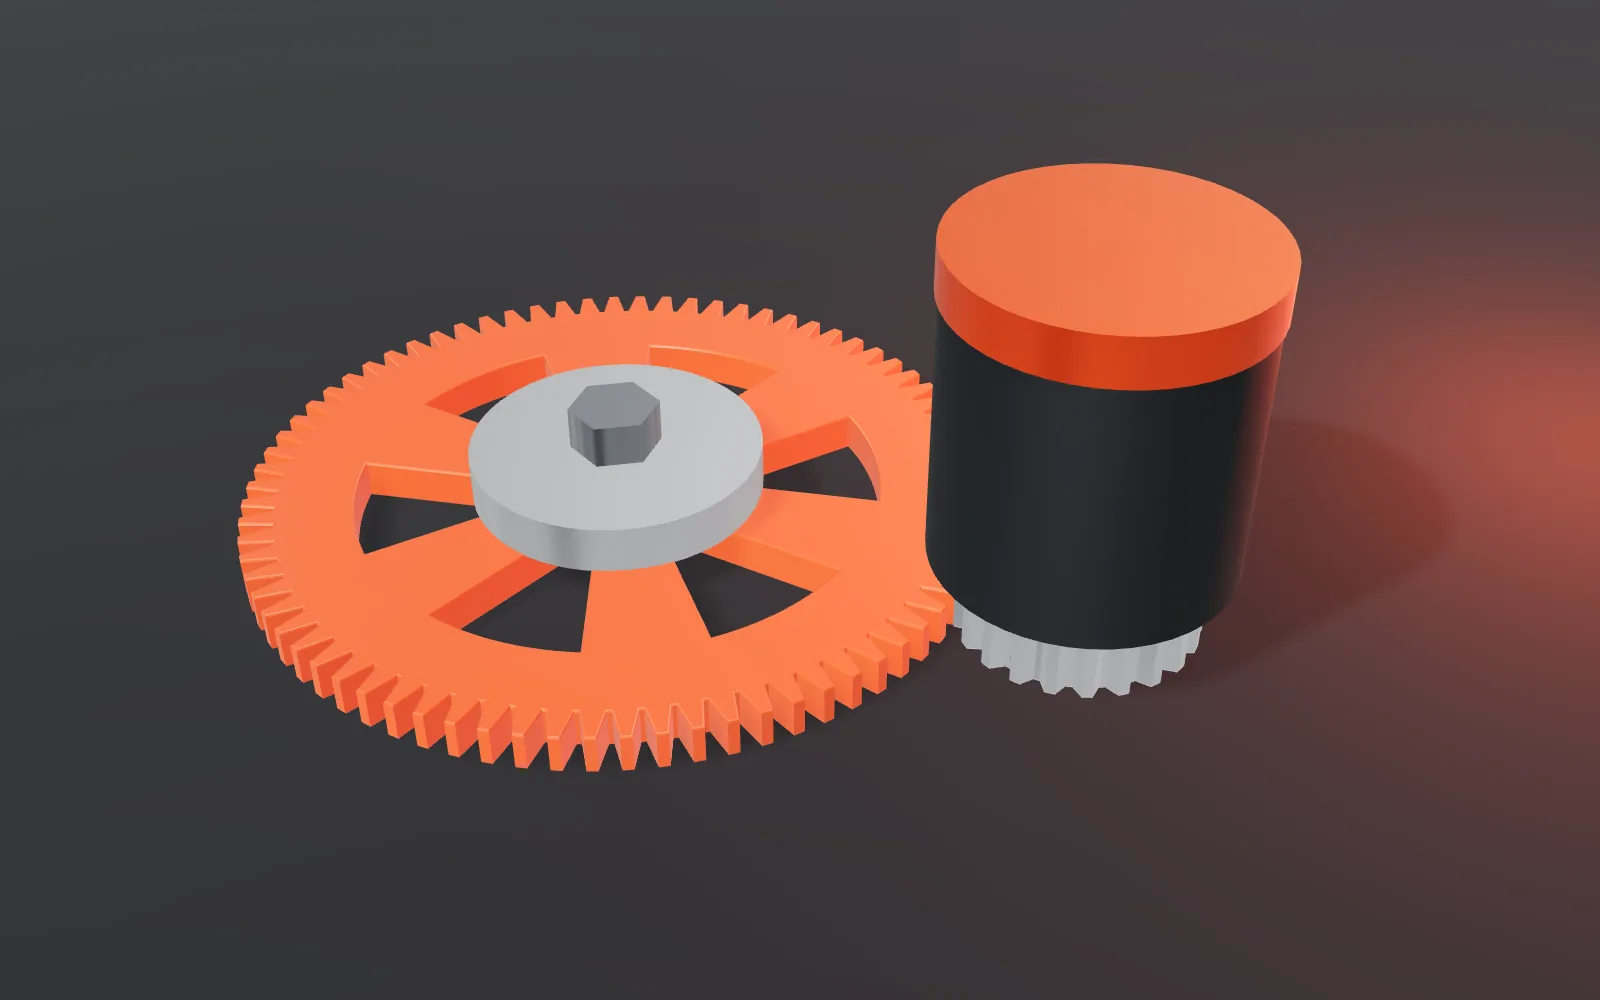
A spur gear is a loop around a circle. Each tooth steps the radius out to the tip and back to the root. Add a centre hole and some spokes cut out of the web, extrude it, and you have a 76-tooth spur. Change one number and you have a 22-tooth pinion.
Materials and light
Physically based materials do most of the work. Carbon is dark with some roughness. Aluminium is fully metallic with low roughness. Anodised orange is just metal with a colour.
Each scene has three lights:
- a soft key light from above that casts the shadows
- a coloured rim light, usually orange, that picks out edges
- a room environment map for reflections, so metal has something to reflect
Tone mapping with ACES Filmic stops the highlights clipping and gives everything a slightly photographic look.
Rendering
A headless browser opens each scene, waits for it to finish drawing, and saves a screenshot at 1600×1000. The images are then converted to WebP. Most come out under 60 KB, which is smaller than many photos.
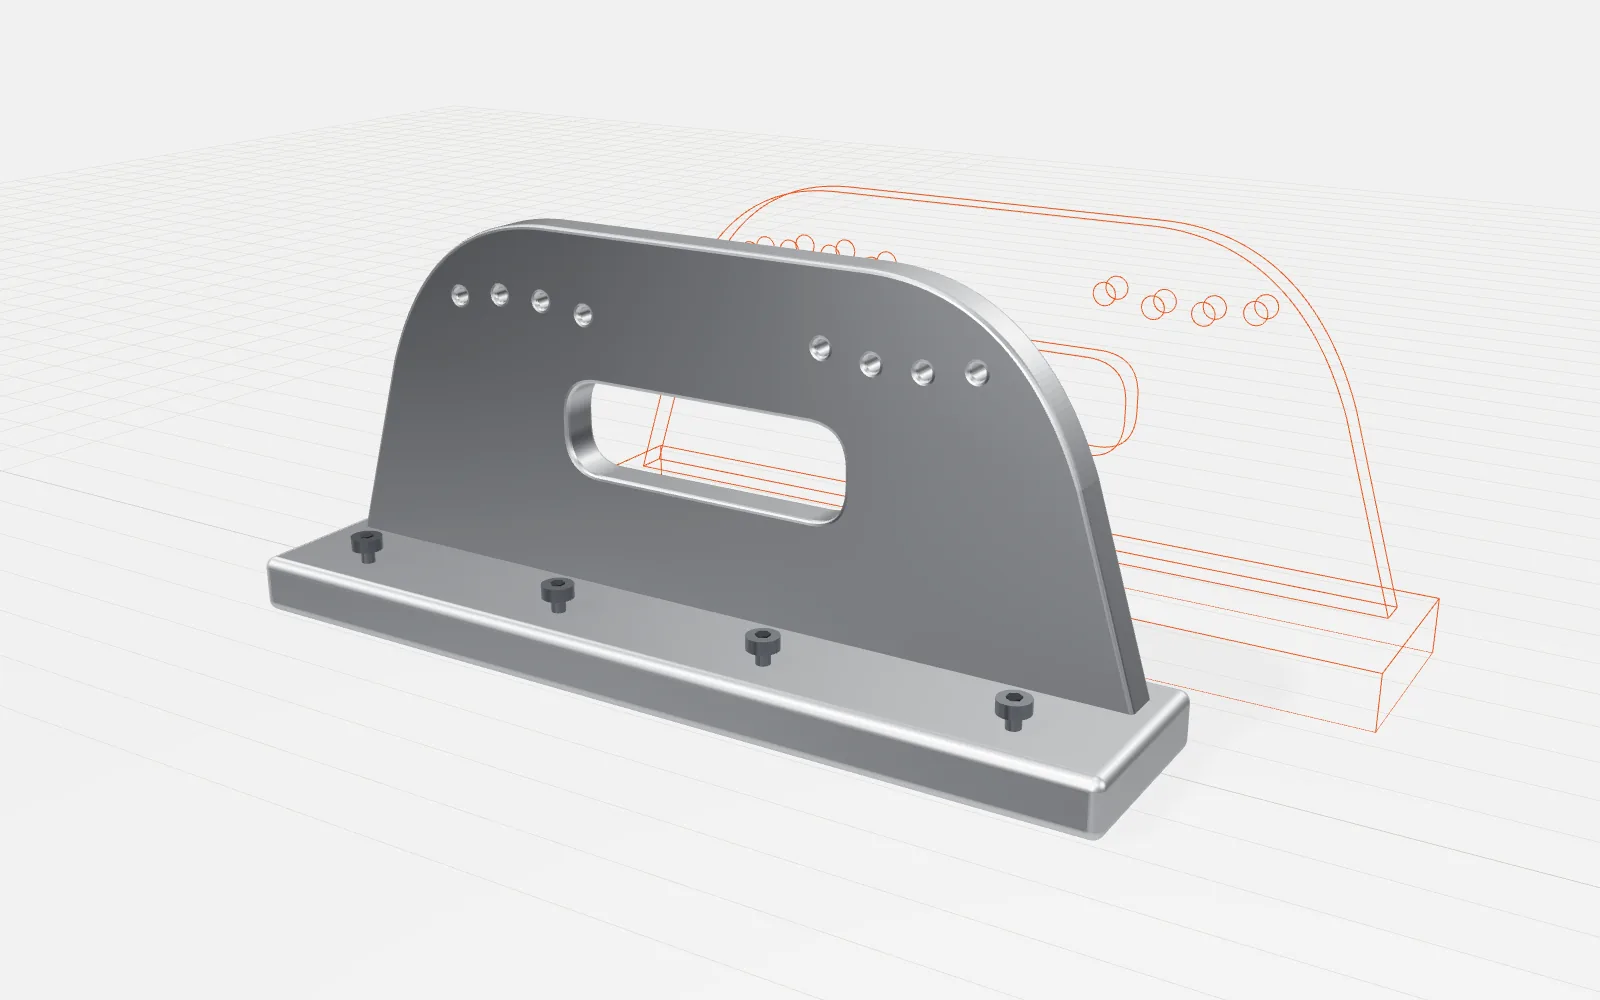
The wireframe ghost in the CAD render is the same shape passed through EdgesGeometry. It's a cheap way to make a render look like it came from a CAD package.